I love the retro look in games, that 16-bit pixel-art style that has, thankfully, become common once again in indie titles. A Link to the Past is my favorite Zelda game, and I’ve been playing Stardew Valley far too long over the past few months. Maybe it’s the nostalgia talking, but I truly enjoy this style.
One of the main draws of retro graphics is the way an area can be laid out using a tilemap. There are far too many tilemap tutorials out there, and this won’t be one of them. Instead, I’d just like to share a little thing I started recently. I call it RPG Town.
The town
RPG Town is a little village that would be at home in any RPG, action-adventure, or roguelike game that uses a 16-bit graphical style. It’s definitely a pixel-art place, and I’m using a free sprite set I found linked on the excellent OpenGameArt.org to visualize it.
The backstory, such as it is, is deliberately vague. RPG Town can be a home base for a player character, or a little stop along the way, or just anything. It’s home to a couple dozen people, and it’s got that typical over-urbanism common to video game settlements. No real farms here, but you can imagine they’re right off the map. It’s also a coastal place, situated on the mouth of a small river. Thus, fishing is likely a big deal there. There’s an offshore island not too far away; it’s claimed by RPG Town, but the people don’t really use it for much. (Maybe it holds the ruins of a lighthouse, or something more sinister.) Other than that, it’s just your average, quaint little town, set amid fertile plains and dense woodlands, ready for an adventure to come its way.
The making of
Really, RPG Town is an excuse for me to play with Tiled. I’ve never used it for much, but I want to. It’s a wonderful program, great for creating tilemaps of any kind, but especially those for retro-style games. Plus, it’s free, and it runs everywhere, so you don’t have to worry about any of that. Get it. It’s more than worth your time.
Anyway, after starting a new map and setting up the tile set I’m using. My first step was to configure the terrain. The Tiled manual talks about doing this; it’s a huge help, if your tile set is made for it.
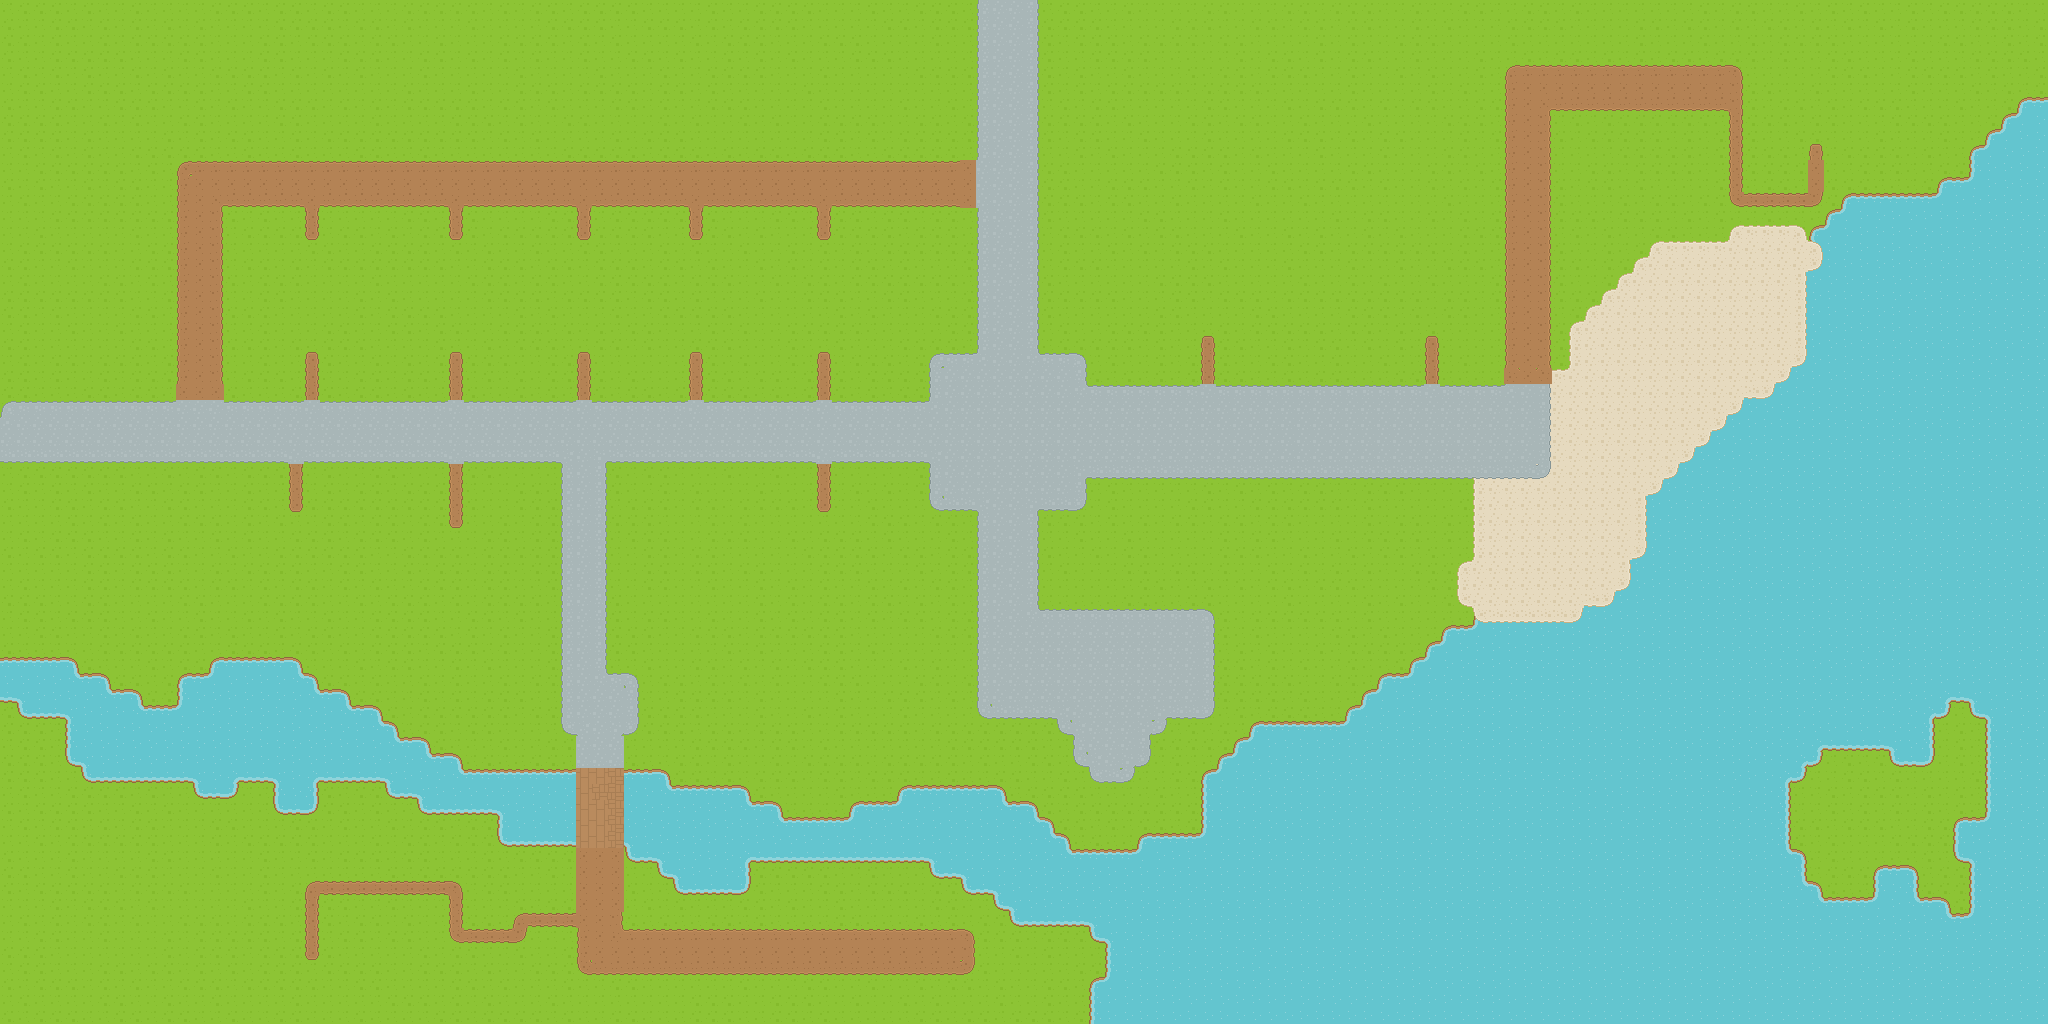
Once I had the preliminaries out of the way, it was time to start making a map. So that’s what I did. First, I filled my whole canvas (128×64, by the way, with the tiles 16 pixels square) with a plain grass tile, then “carved out” the water areas. I had already decided RPG Town’s location, so all I had to do was draw the water. Tiled took care of the tile transitions seamlessly, and I ended up with this:

Tilemaps are best built in layers, from the base (the terrain) up to the more complex parts like houses or signs. Following that philosophy, next come the roads. RPG Town isn’t a big port, but it’s a port, so it’s only natural that it would be a stopping point for a road or two. Those I made as wide cobblestone paths, meeting in the middle in a tiny town square. There are also a few branching side streets, and some stuff that won’t quite make sense yet. Oh, and I added a spot of sandy beach, because who doesn’t like that?
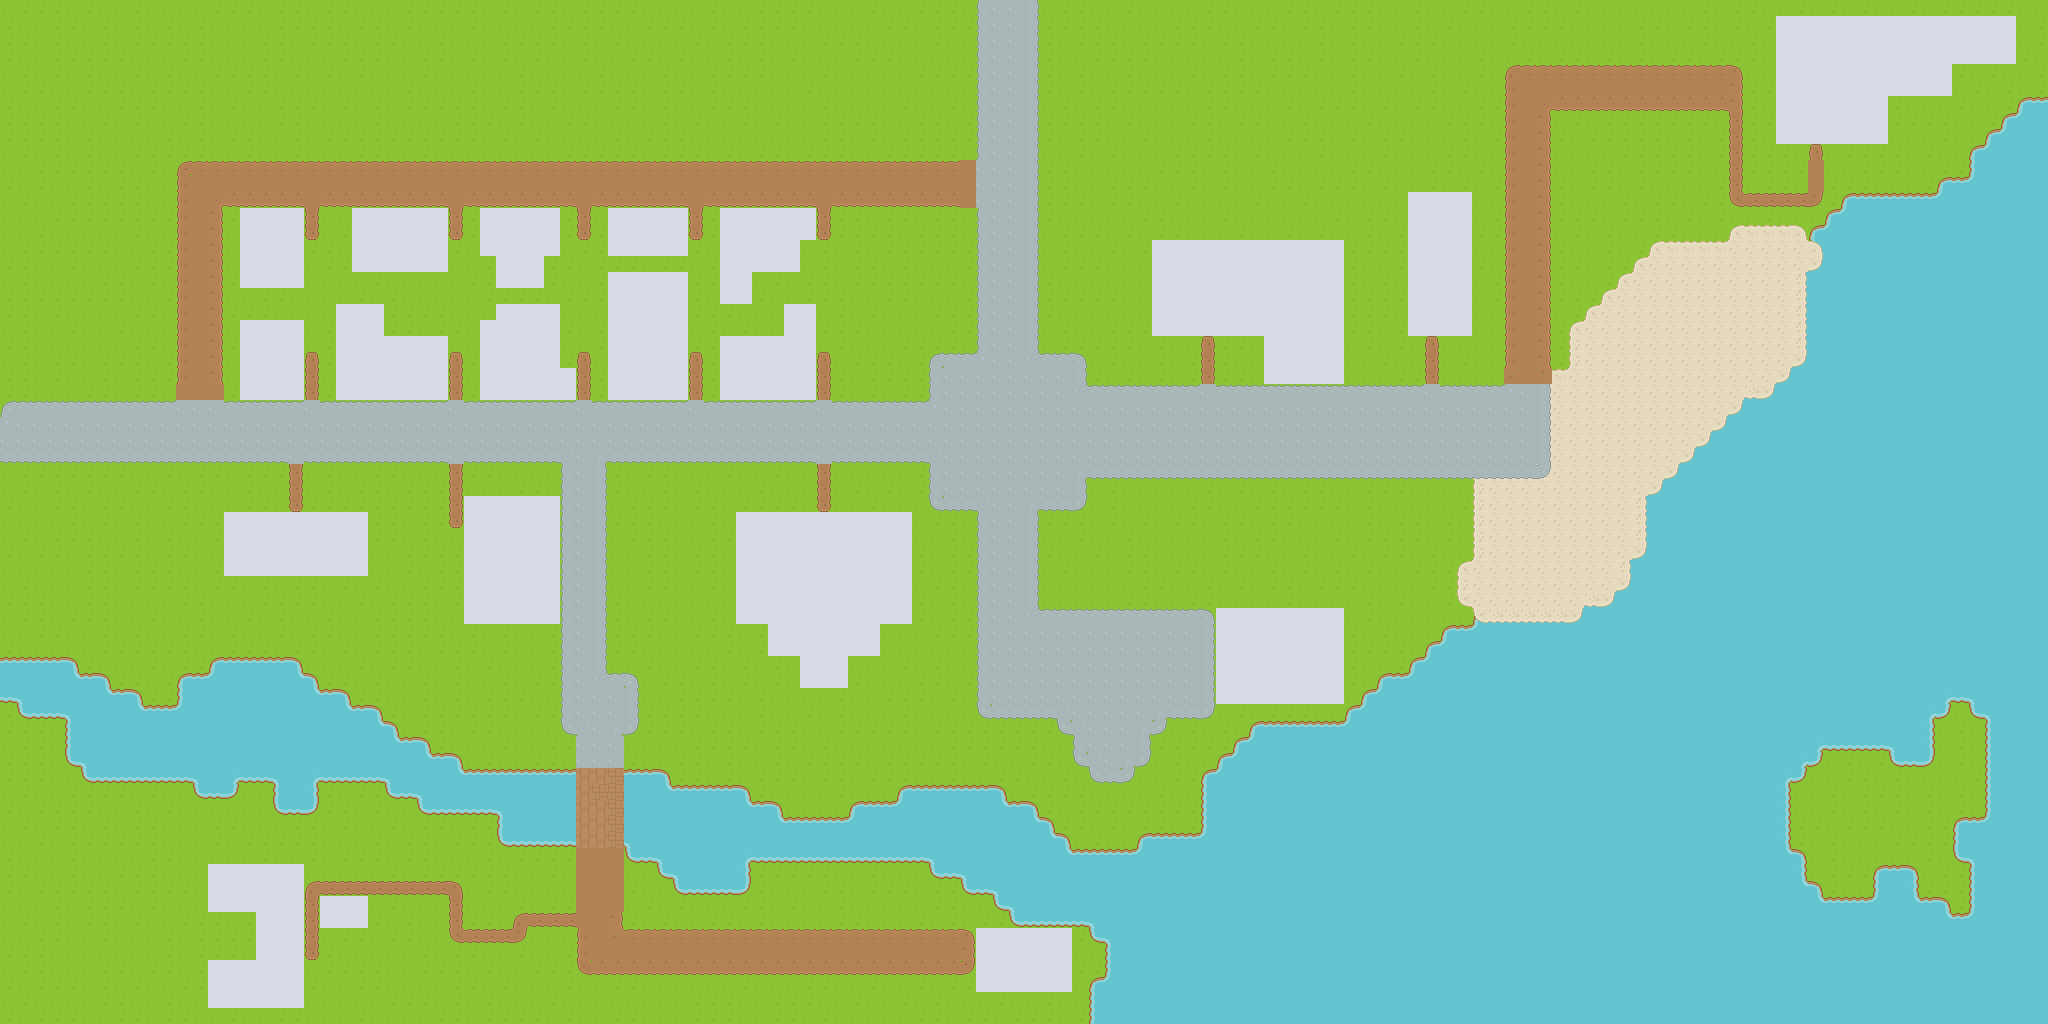
Now that I know where all the roads are running to, it’s time to give the people of RPG Town some places to live and work. I’m not ready to actually plop down buildings yet, so I’ve limited myself at this early stage to simply staking them out. On this last picture, you can see the outlines of where buildings would go. Later on, I’ll build them, but this is enough for now.
To be continued?
I’ll keep playing with RPG Town in my spare time. If I do anything interesting with it, I’ll post about it. One day, there might even be a few virtual people living there.